
You might have a continuously running sump pump, but it’s not actually moving any water. No water is moving through this inch-and-a-half PVC past the check valve and out the discharge pipe.
Understanding the Basic Setup
Your main sump pit will have a cover, and a loose-fitting cover is preferred. That’s because you can actually see from that big slot what’s going on down in the pit.
There may be a battery backup system, and two power cords that actually go into the outlet, because there are actually two pumps: the primary pump and a backup secondary pump down in the pit.
Step One: Check the Float
Sump Pump Keeps Running
If you go outside and check your discharge pipe, you can really just hear there’s no water moving through the inch-and-a-half PVC past the check valve. So you are getting power to your pump, something’s going on down there, but it’s definitely not moving any water. In that scenario, what you want to do is usually check your power cords and make sure none of those are catching on the float.
You should be able to feel that the float is moving as it should, and also that it’s moving up and down. If you didn’t have water in the pit, your float might be stuck in the up position, possibly a power cord is holding it in the up position, or possibly the sump pump is pressed against the side wall and it’s holding it in the up position. So just check that and make sure your float is moving freely and has nothing that is binding it up.
Step Two: Check the Check Valve
There is some scenarios where your pump could be pumping out, and the water table should be actually pretty low, but your check valve is actually not coming back down and closing after the cycle. So then that can put you into a perpetual cycle of water flowing.
Removing the check valve is pretty easy, you’ll have four band clamps, two on the top, two on the bottom, and all that’s needed to do that is a 5/16 inch nut driver. When checking the function of the check valve, all you’re doing is making sure you understand the direction of flow, putting a screwdriver through and exercising that actual gate or the check valve itself, making sure it can move up and then close back down.
Most people will have a pretty long vertical section of pipe through this, so once the flow stops in this direction without that check, all that water in the pipe will want to rush back down into your pit, and that can put you in the cycle we talked about. So that’s the purpose of the check valve and why you need a functioning check valve.
Step Three: Check Band Clamps and the Weep Hole
If you have a complex primary-secondary setup, check all your band clamps. If a band clamp was loose, this pump would continue to pump, but instead of pumping water out, because it needs to overcome that vertical elevation, or what’s called head pressure, it could be just cycling the water internally, flowing water out at that point, and that could be your failure mode.
Between your pump and then your check valve in the PVC line, you actually want to have a one-eighth-inch hole here, which is called a weep hole. You want to have that because it can avoid a scenario where your pump gets locked from a pocket of air that can build up inside this pipe.
You could drill a one-eighth-of-an-inch hole at a 45-degree angle pointing down, so when the water flows up, if it does leak out, it’ll actually shoot the water down instead of up, which might go out of your pit.
Confirming the Fix
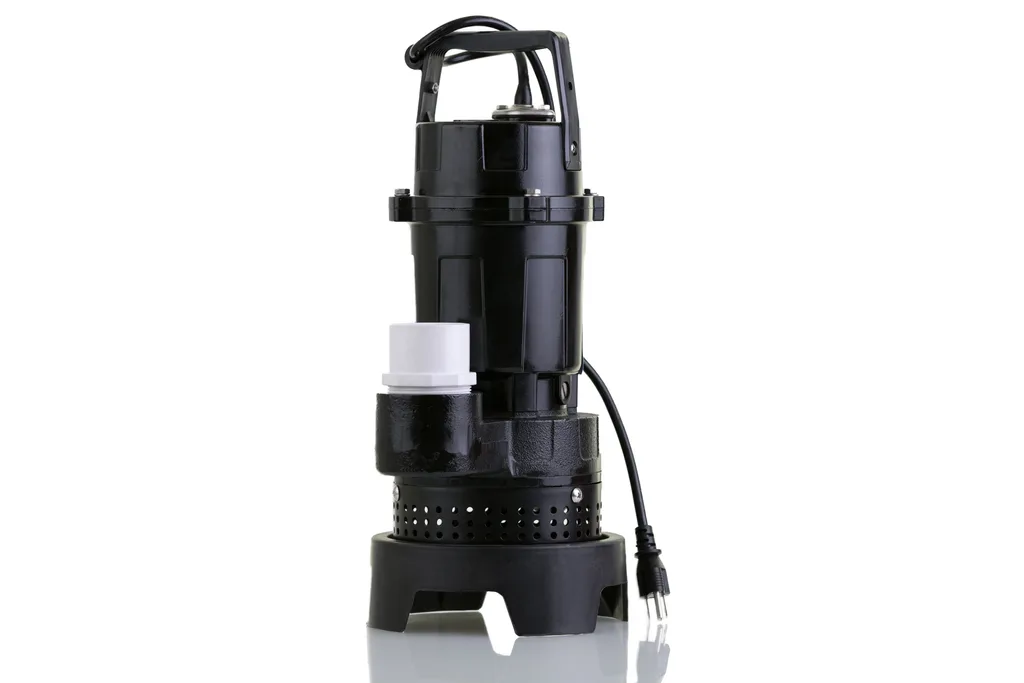
Now when you set your sump pump back in, you want to make sure that your floats are set correctly. Always use the handle, there’s usually a handle on top of your sump pump that you should be using to actually lift it out. Don’t hold on to the pipes, don’t hold on to the power cords, just use that handle.
Once you confirm that it’s functioning properly, you’ll go ahead and reinstall your check valve. If that missing weep hole was the issue and the overall unit was locked up, once it’s plugged back in, you would expect the pump to now start flowing, pumping past the check valve, out the discharge outside, and the water level to start going down.
It might take a little while because water is in the pit and in the incoming pipes, and it will keep flowing into the pit until it drains out. It’s always good to know what setup you have and if you have any backups as well.